Getting Started

How to add a driver and invite them to the driver app

Create a driver, send the invitation email and let them set their password to use the driver web portal and the Pickup Driver app. Includes what to do when the email is already registered with another company.

4 min read Updated September 2026
On this page
  1. Before you start
  2. Steps
  3. What the driver sees
  4. If the email is already registered with another company
  5. The whole flow in 15 seconds
  6. Good to know
  7. Next steps

Drivers are the people who take your rides. You create the driver in your workspace, then send them an Invite: they receive an email, set their own password and can sign in to the driver web portal and the Pickup Driver app with the same credentials. You never handle their password.
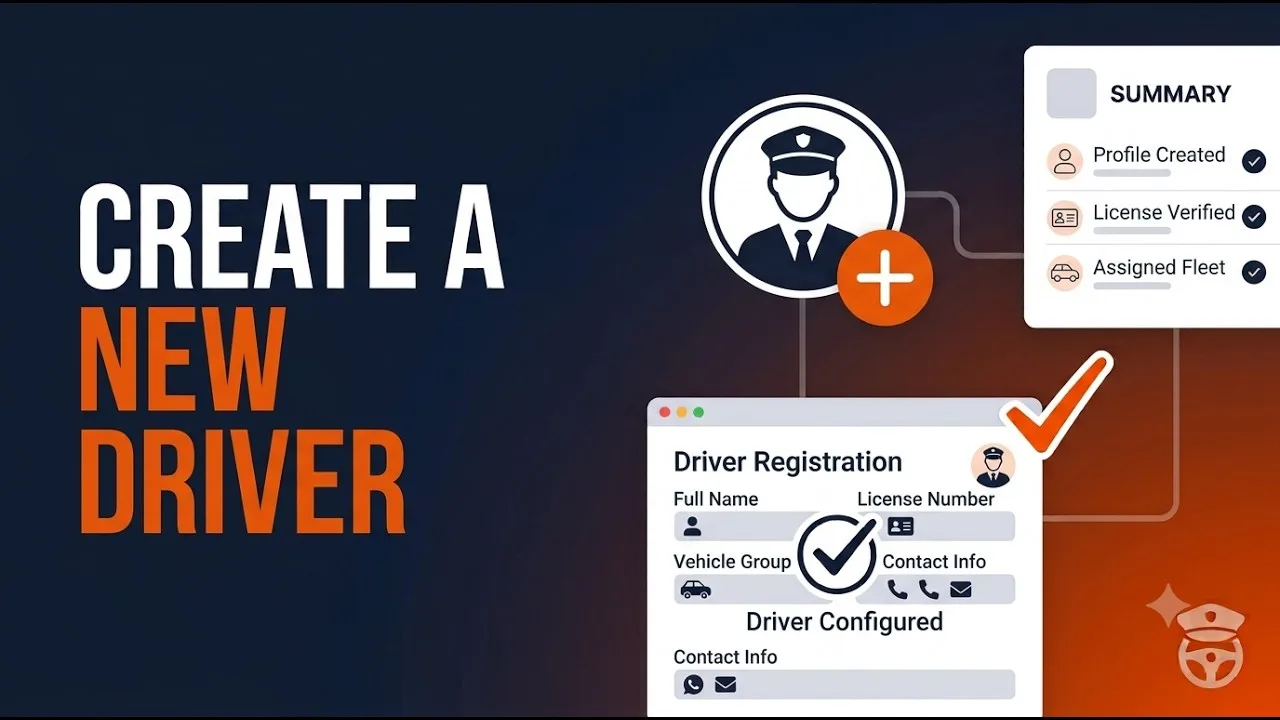
Video tutorial: how to create a new driver in Pickup Dispatch Video tutorial (2 min)

Before you start

  • Only First name, Last name, Email (login) and Cell phone are required. The email becomes the driver's login and must not be in use by anyone else on the platform.
  • If you have already added a vehicle, you can pick it as the driver's Default car; it is optional and can be changed later.
  • The number of drivers you can create depends on your plan (Plans & Addons → Plans).

Steps
1
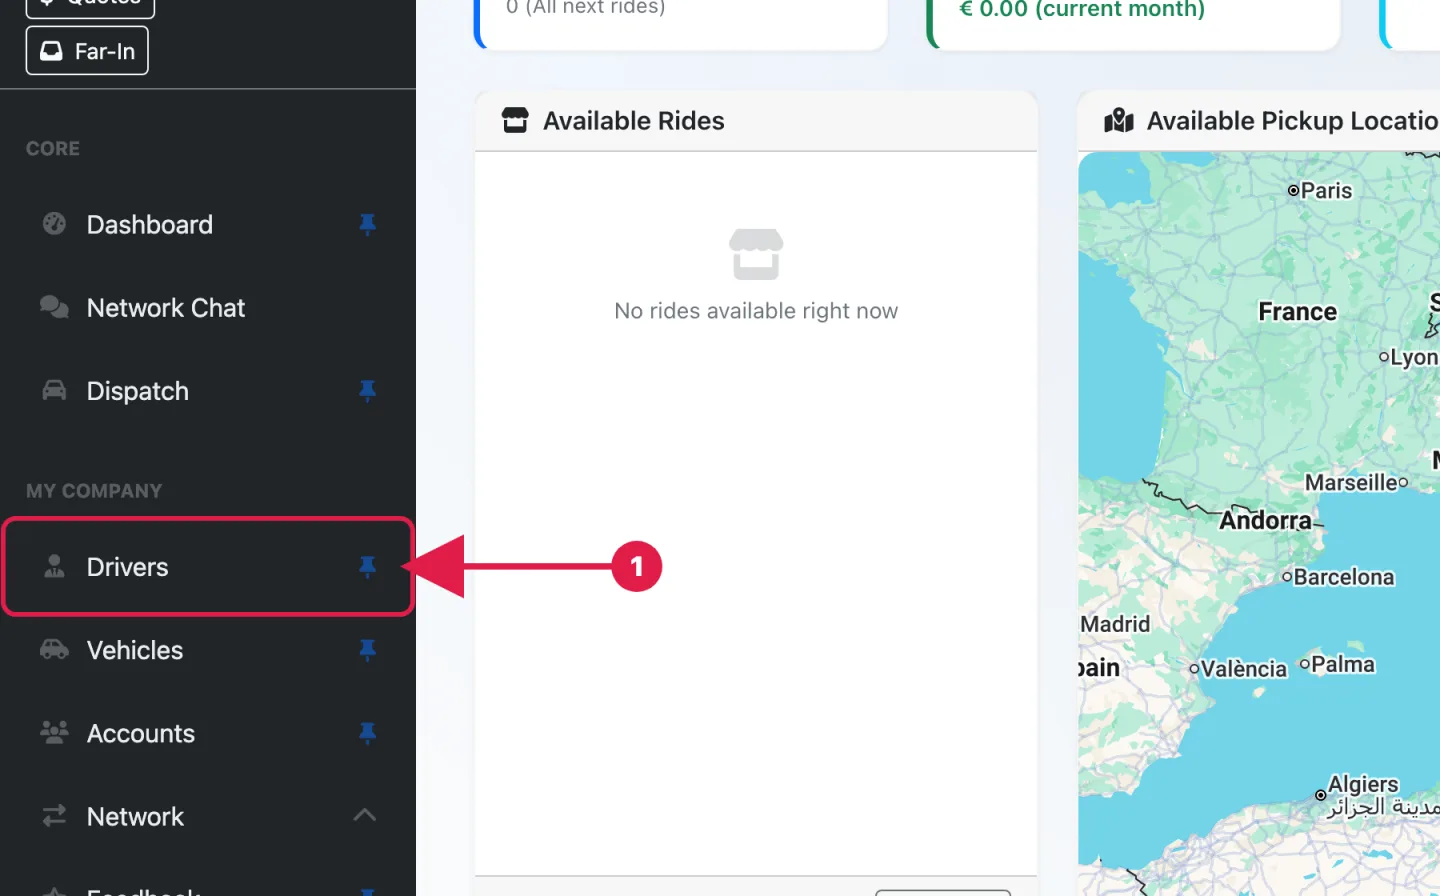
In the sidebar, under My Company, click Drivers.
The Pickup Dispatch sidebar with the Drivers entry highlighted under My Company
Step 1: Drivers in the sidebar.
2
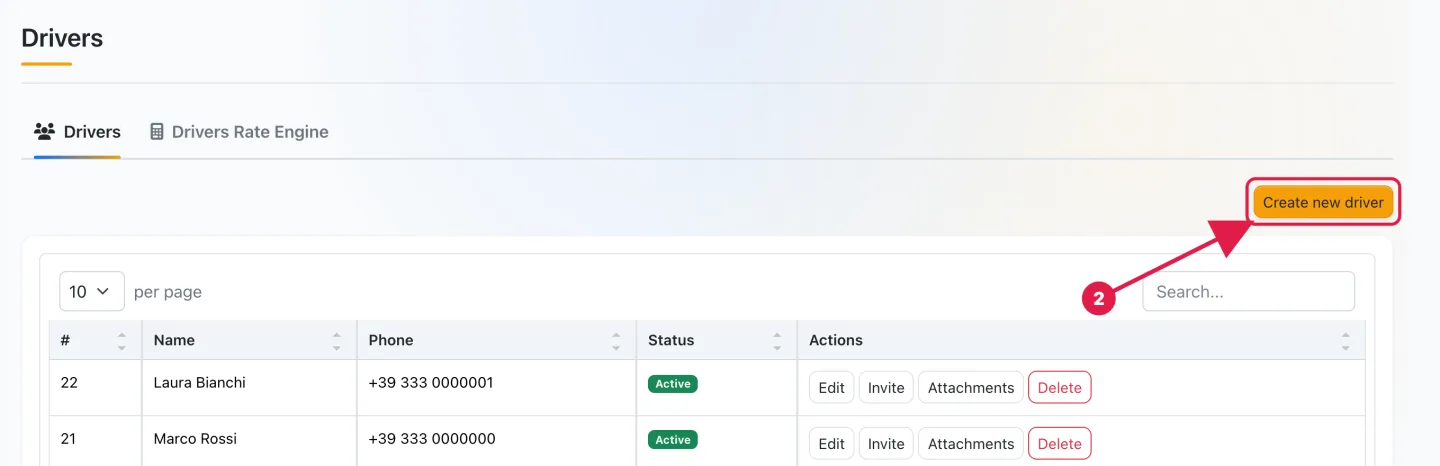
Stay on the Drivers tab and click Create new driver (top right).
The Drivers page with the Drivers tab and the Create new driver button highlighted
Step 2: the Drivers tab and the Create new driver button.
3
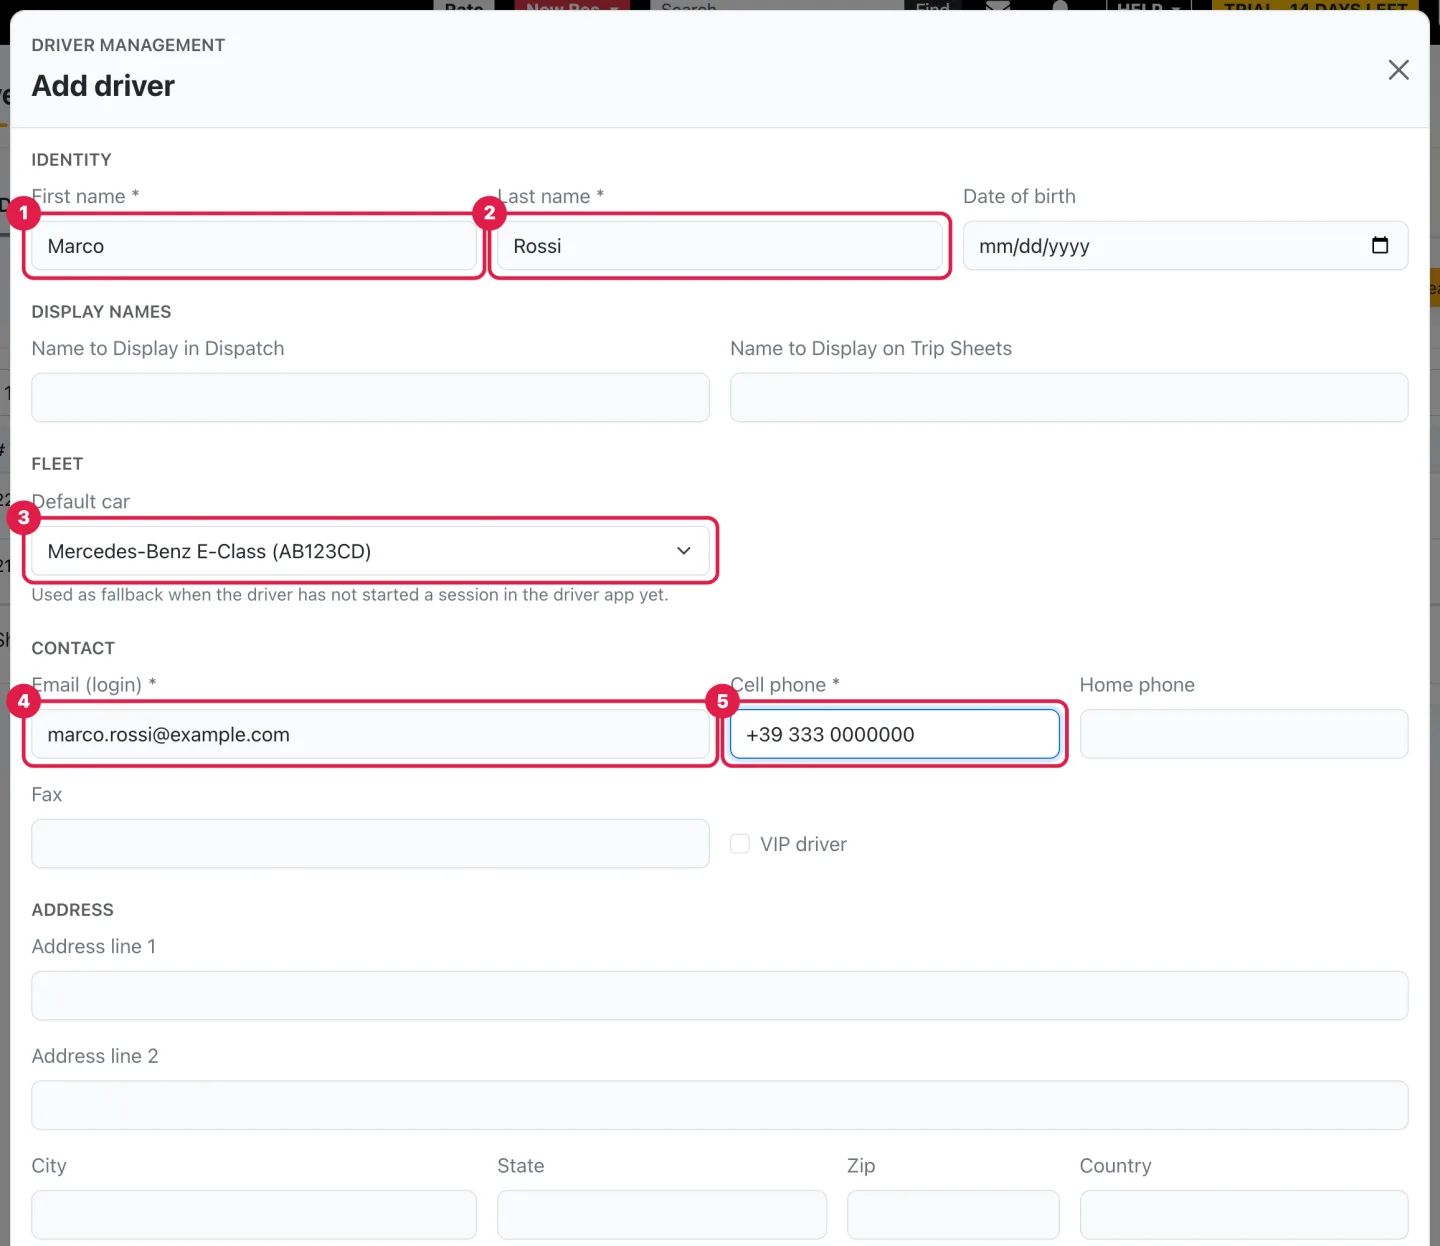
In Identity, enter First name and Last name. Under Fleet, optionally choose the Default car. In Contact, enter the Email (login) and the Cell phone.
4
Every other section (Display names, Address, Driver license, Badge & credentials, Employment, Pay rates, Notes, Rate Assignment, Attachments) is optional and can be completed later from Edit.
The Add driver form with First name, Last name, Default car, Email (login) and Cell phone filled in and numbered
Step 3: Identity, Fleet and Contact, the only sections you need.
5
Scroll to the bottom and click Add driver. A confirmation appears and the driver is listed with status Active.
The bottom of the Add driver form with the Add driver button highlighted
Step 5: the Add driver button.
6
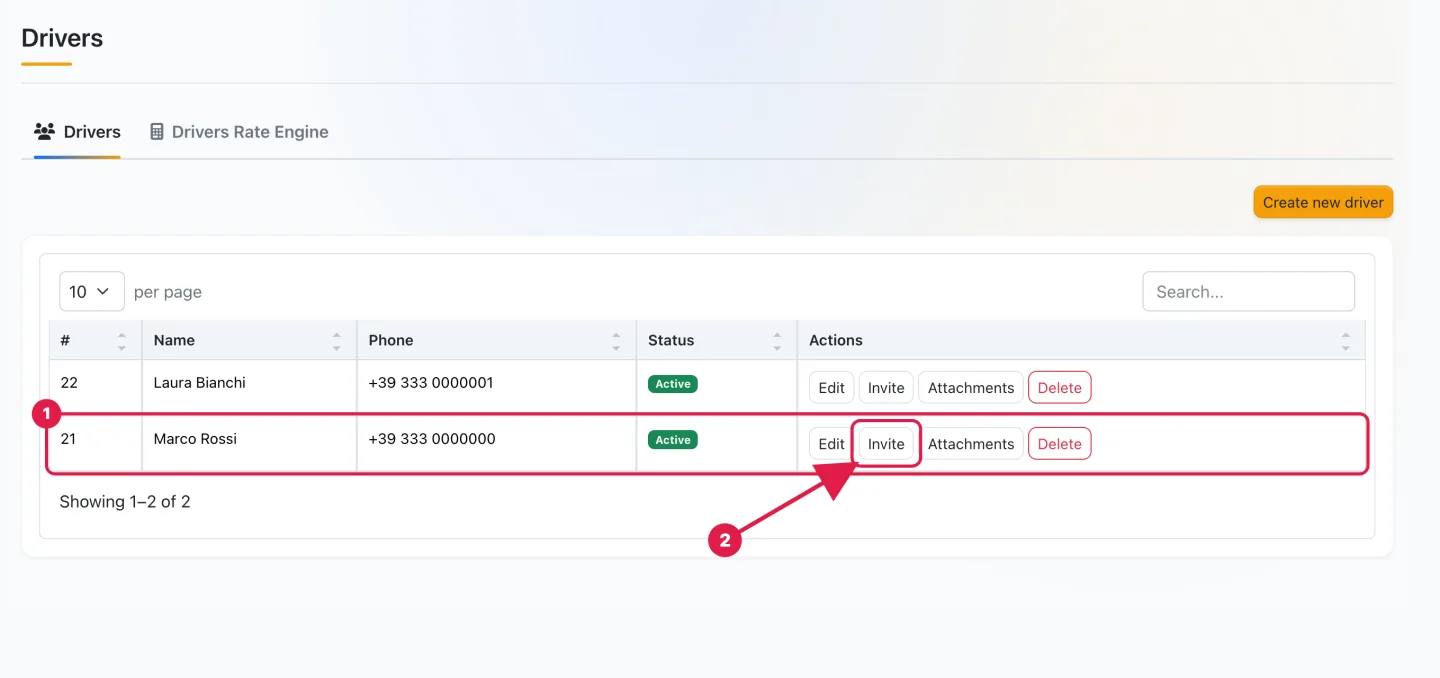
In the Actions column of the driver's row, click Invite. The confirmation Invitation sent appears and the driver receives the email Complete your driver access with a button to set their password.
The Drivers list with the new driver row and the Invite button highlighted
Step 6: the saved driver and the Invite button.

What the driver sees

The link in the email opens the Set your new password page: email and Company ID are prefilled, the driver only chooses a password and clicks Reset password. From then on they sign in with that email and password to the driver web portal (your platform address followed by /driver/login) and to the Pickup Driver app.
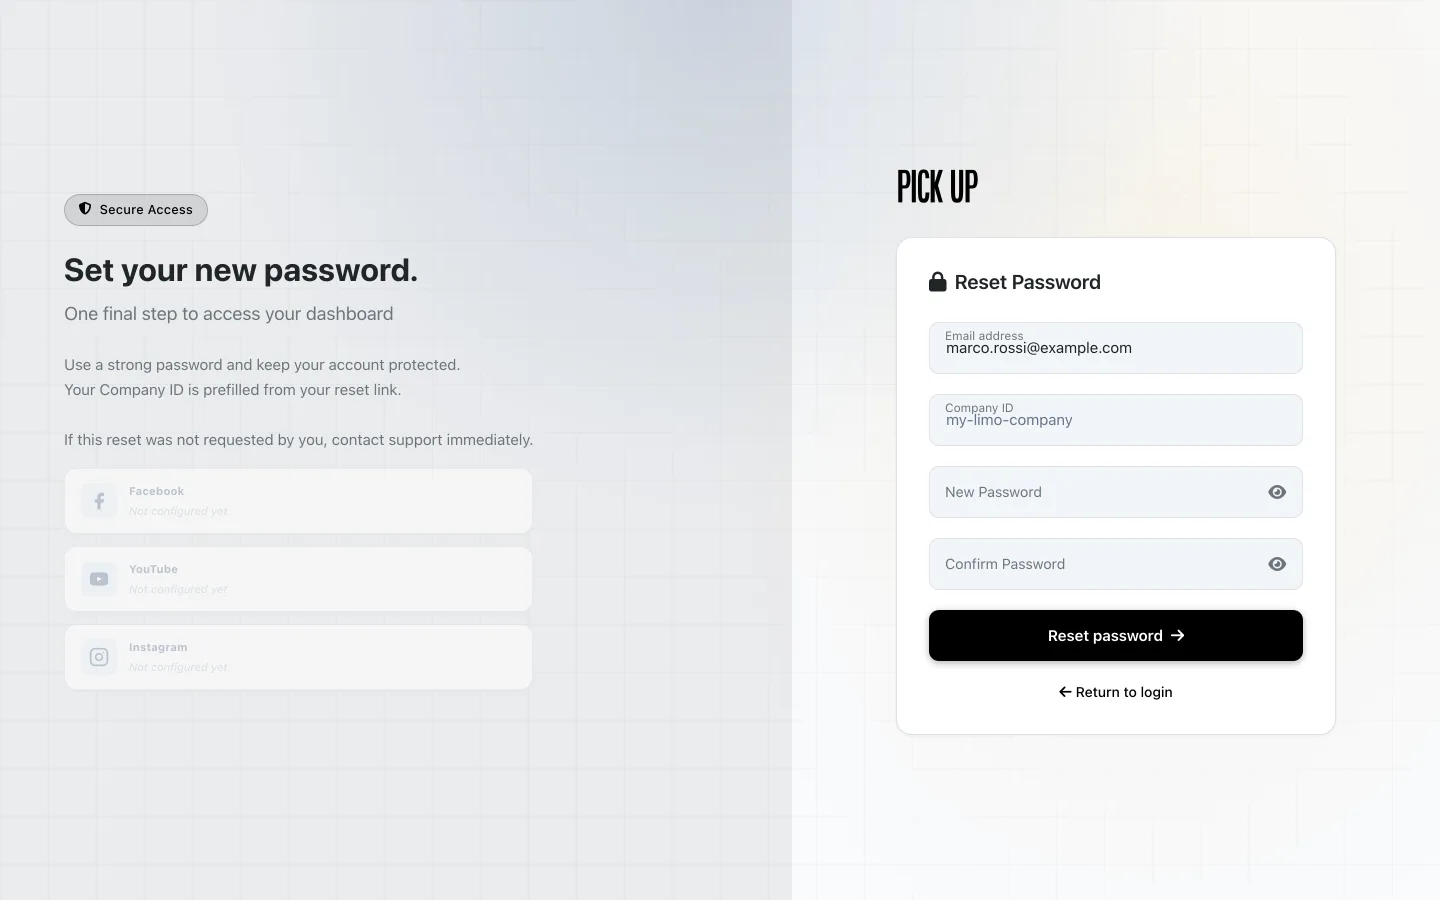
The Set your new password page the driver opens from the invitation email, with email and Company ID prefilled
The page the driver lands on from the invitation email.

The link in the email is valid for a limited time. If the driver did not use it in time, click Invite again: a fresh email replaces the old one.

If the email is already registered with another company

When you click Add driver and see the message Could not create driver: The email has already been taken, that email already belongs to a user on the platform, usually a driver who works or worked for another company. You cannot add them yourself.
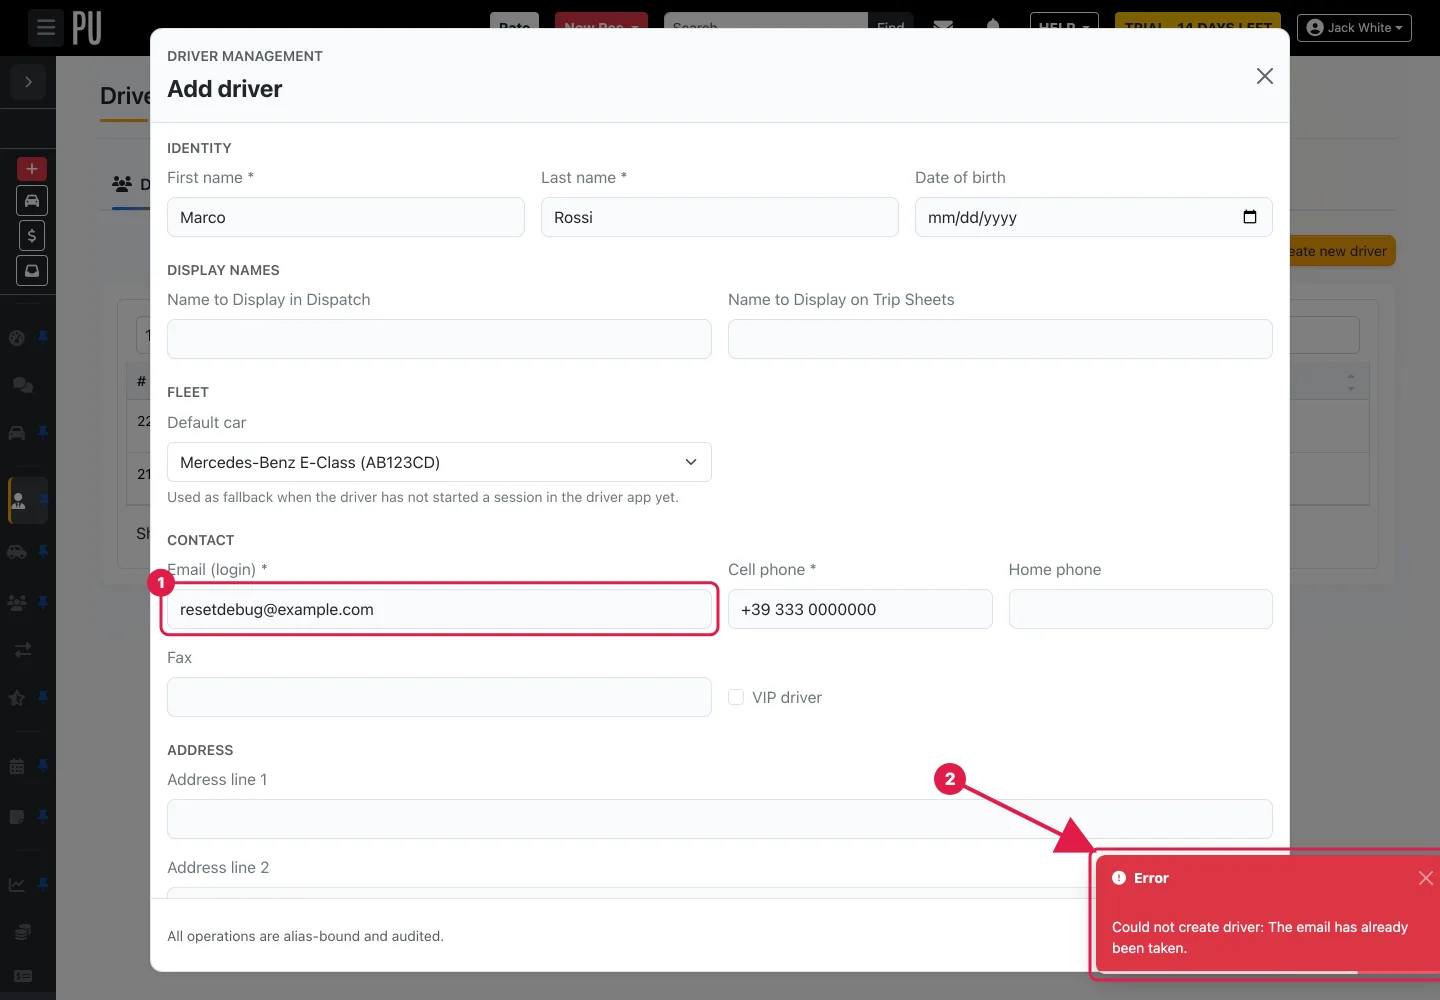
The Add driver form with the email field and the error message The email has already been taken highlighted
The message shown when the email already exists on the platform.

Open a support ticket from HELP → Open a ticket, state the driver's email address and ask for the driver to be released for your company. The Pickup team handles the request and answers in HELP → My tickets; once done, you can add the driver as usual.

The whole flow in 15 seconds

From Create new driver to the saved driver.

Good to know

  • Creating the driver does not send anything: the invitation goes out only when you click Invite, and you can click it as many times as you need.
  • Employment → Status (Active, Inactive) and Web access (Allow, Disallow) are available in Edit when a driver stops working with you.
  • Drivers Rate Engine, the second tab of the Drivers page, is where driver pay rates live; a new driver starts with your default rate matrices (Rate Assignment shows Use alias default).
The invitation link expires. If the driver reports that the link does not work, do not create the driver again: click Invite on the existing row to send a new email.

Next steps

Need help? Open a free support ticket from HELP → Open a ticket in your workspace (unlimited) and follow the answers in HELP → My tickets. For a guided walkthrough you can also book a paid one-to-one Live training session from HELP → Book a live training session.

Was this article helpful?